Recently got a Bambu Lab A1 3D printer — It’s incredibly fun and satisfying to watch it print things layer by layer. This post documents how @aswinashok44, @katana_handler and I tried to create a good setup for recording time-lapse videos of the prints. I’ll summarize all the different methods we tried and the results from each of them. A lot of this was just over-engineering and experimenting, but it made for a fun weekend.
My brother recently got a Bambu Lab A1 3D printer. It was so easy to set up and was ready to print in 20-30 mins. 3D printing has come a long way. Now, it's almost as simple as using a regular laser printer - almost anyone can do it.
— Aswanth (@aswwwanth) January 23, 2025
To give some context about the printer — Bambu Lab A1 is a bed slinger printer. The Y-axis movement is handled by the print bed while the printer head handles the X and Z axes movements.
First we tried recording a normal time-lapse with a phone.
Normal time-lapse using phone
It was a simple setup, tripod with phone placed right in front of the printer. The result wasn’t aesthetically very pleasing. It was also hard to make out what was happening since both the printer head and bed were moving — they appeared in different positions in each frame, making the video look chaotic.
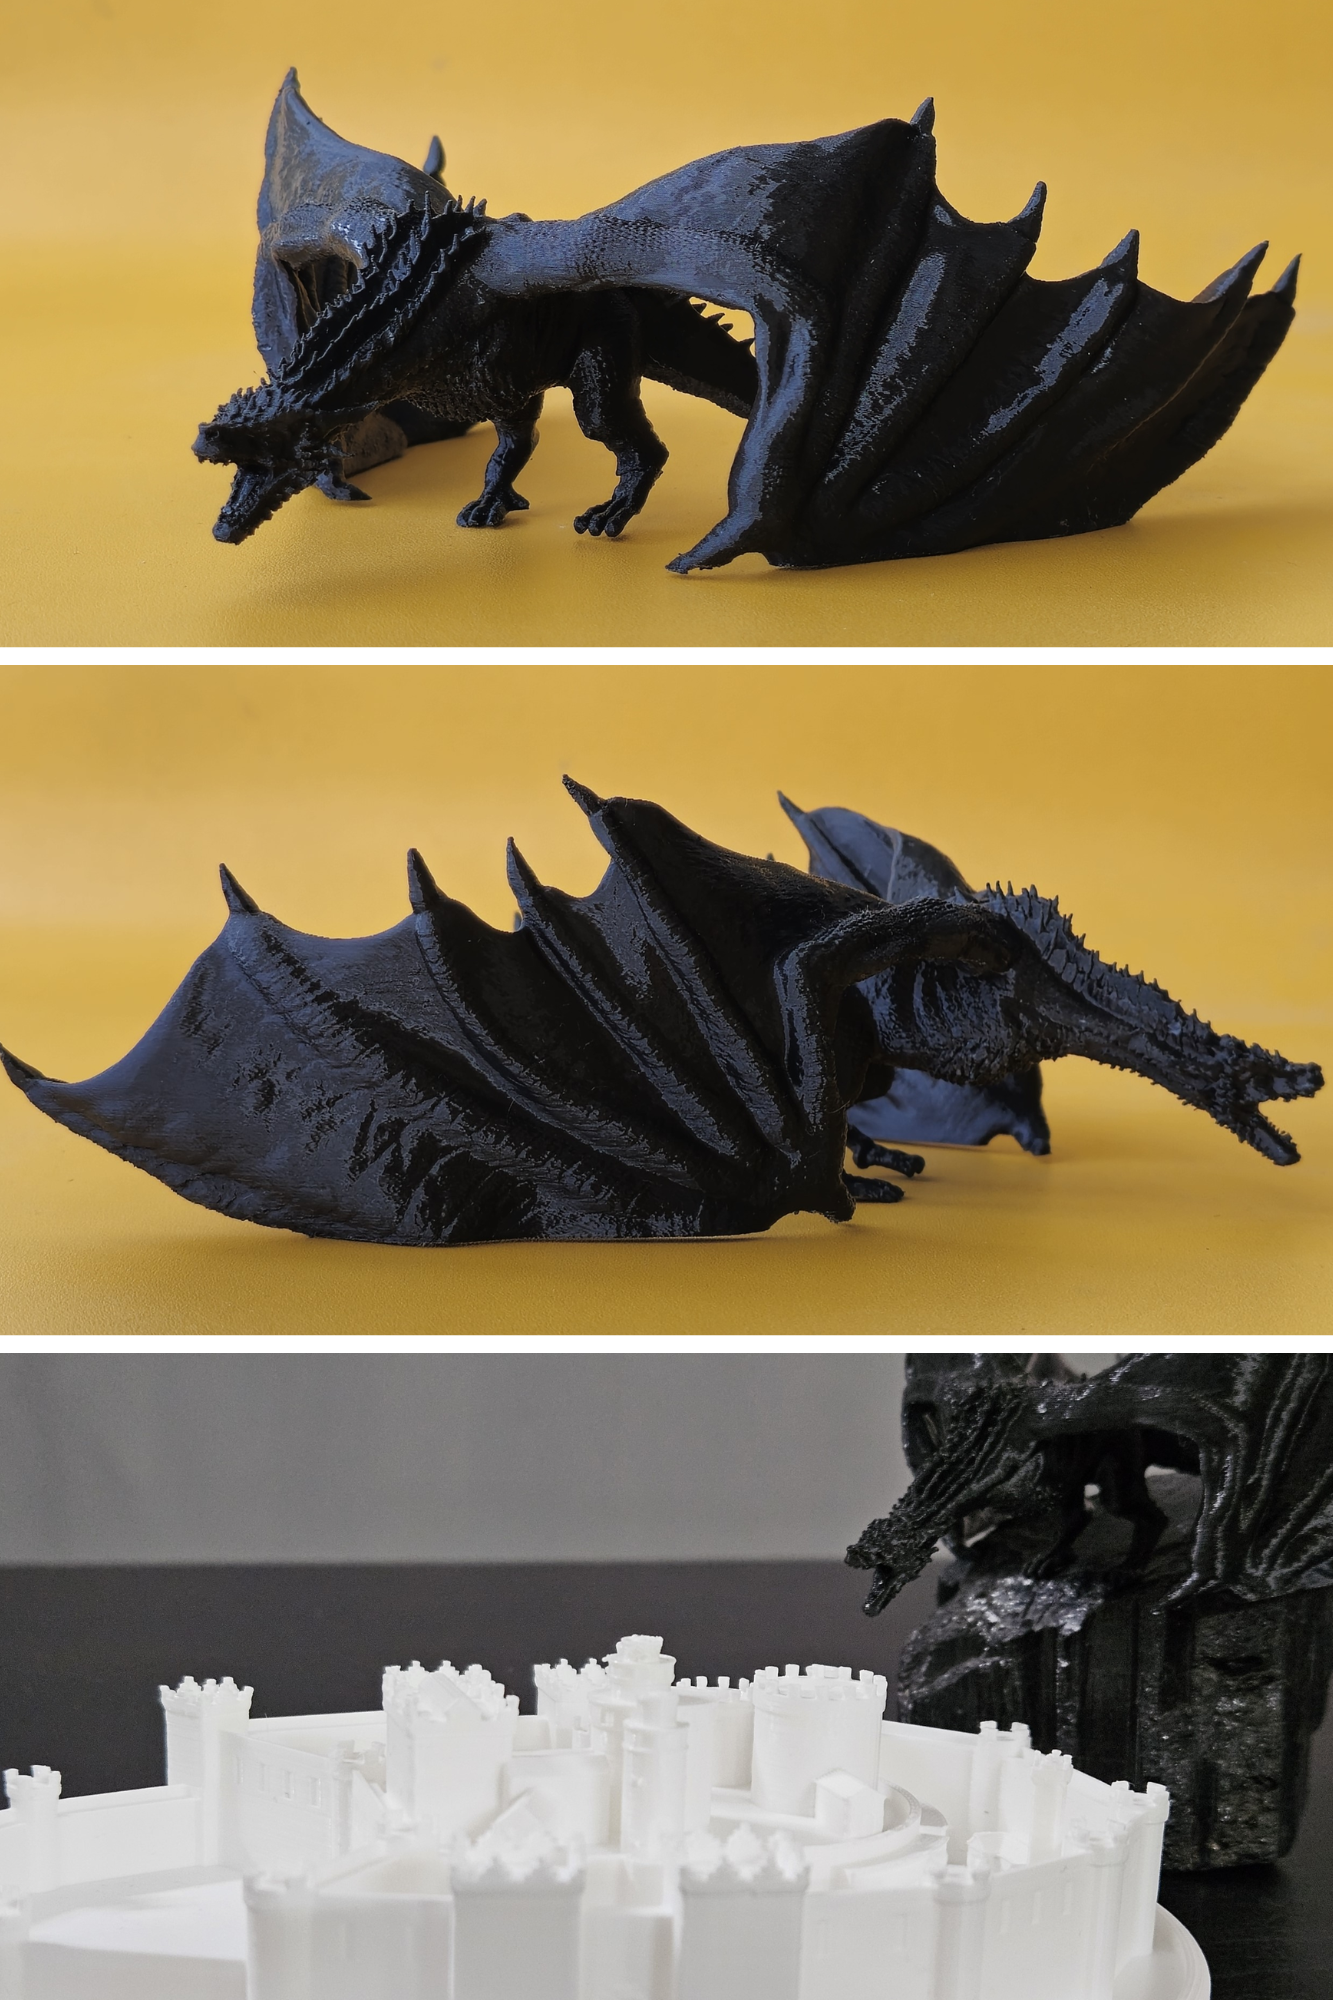
Timelapse of printing Drogon from Game of Thrones
Next up we tried using A1’s built-in camera. Even though it didn’t have great reviews, we wanted to see what it could do.
A1’s built-in camera
There’s a time-lapse mode in the printer which, when enabled, will move the printer head to the extreme left of the X-axis assembly and bring build plate to a fixed position once after every layer is completed. This solves the issues we faced with a normal phone time-lapse, where the build plate and printer head were all over the place across different frames. But the built-in camera in the printer is a potato and the video quality is not the best.
Final output from A1’s built-in camera
There’s another option that piggybacks on the printer’s time-lapse mode. You can attach a bluetooth shutter button to the extreme left of the X-axis assembly so that it gets triggered when the printer head moves away from the build plate. This shutter button can be paired with any camera. There will be at least one image per layer, and a time-lapse video can be generated from these images. Here is a really good video explaining this approach in detail - How to make BETTER 3D print timelapses with the BambuLab A1 and A1 Mini!
Ideally, the bluetooth button option is the best. But we wanted to explore more and see if we could have a purely software-based solution which doesn’t involve any additional hardware (bluetooth shutter button in this case). And that led to the below two approaches.
Custom camera app
When prints are made in time-lapse mode, we know that after every layer is completed, the printer takes a pause with the build plate kept at a fixed position and the printer head moved away to the extreme left. This position is maintained for 1-2 seconds.
We wanted to build a mechanism which will take pictures whenever the printer pauses in time-lapse mode.
Some of the options that came to our minds to detect that the print is paused:
- If some kind of API is provided by Bambu Lab with which we can find out the position of the head (or somehow find out that the printer has paused to take a picture) and act accordingly.
- Stick an Aruco/April tag on top of the printer head and another one to the extreme left of the X axis assembly. Once these tags come pretty close during the print (which means the printer head has moved to the left and the printer is paused for time-lapse) then take a picture.
For the first option, we tried a couple of unofficial Bambu Lab APIs out there (like mchrisgm.github.io/bambulabs_api) but we were not able to get the information needed about the printer head’s location or if the printer is in paused state for capturing the time-lapse. The API works by listening to/publishing messages to the MQTT topic exposed by the printer. Unfortunately, Bambu Lab isn’t publishing the required information on the MQTT topic.
We ended up going with the second option - 3D printed two Aruco tags, stuck one on the printer head and one on the X-axis assembly. We then built a custom camera app and added the support to detect and measure the distance between the two Aruco tags using OpenCV.
Aruco tags setup on the printer
Custom app setup
Final output from a test print
There were a couple of issues with this approach:
- Since the app needs to detect the Aruco tags’ positions to decide when to capture a frame, the camera must stay focused on the tags. This often resulted in slightly blurry frames that weren’t sharp enough.
- Sometimes the camera fails to focus on the tags properly, causing detection issues. In such cases, we end up missing a few frames.
The above issues were not unsolvable. But we had another idea which looked more promising — instead of deciding which frames to capture live from within the app, how about doing some post processing after recording the entire print?
Post processing
We decided to record the entire video of the print with Aruco tags setup on the printer head. We could then post-process the video using OpenCV and find out which frames to include in the time-lapse by looking at the distance between the Aruco tags. The source video was recorded with the maximum quality and since we were doing post processing, we could throw as much compute at it as needed to speed up processing. Once the frames were chosen, we generated the time-lapse video from the selected frames directly using OpenCV.
Since recording the entire video in high quality would consume a lot of storage and most of the footage isn’t actually useful, we found an app (Protake on the Google Playstore) that lets you set the FPS as low as 2 — so the video will consume very less storage and itt would also be faster to post-process.
Final time-lapse after post processing and some cropping
With better lighting, we should be able to create some high-quality videos using this method.
Conclusion
After trying out all the approaches, we found the post-processing method to be the most reliable for creating high-quality time-lapses without needing any additional hardware. While the Bluetooth shutter method might be the simplest and most practical solution overall, it was really fun to hack together these solutions.
Print gallery
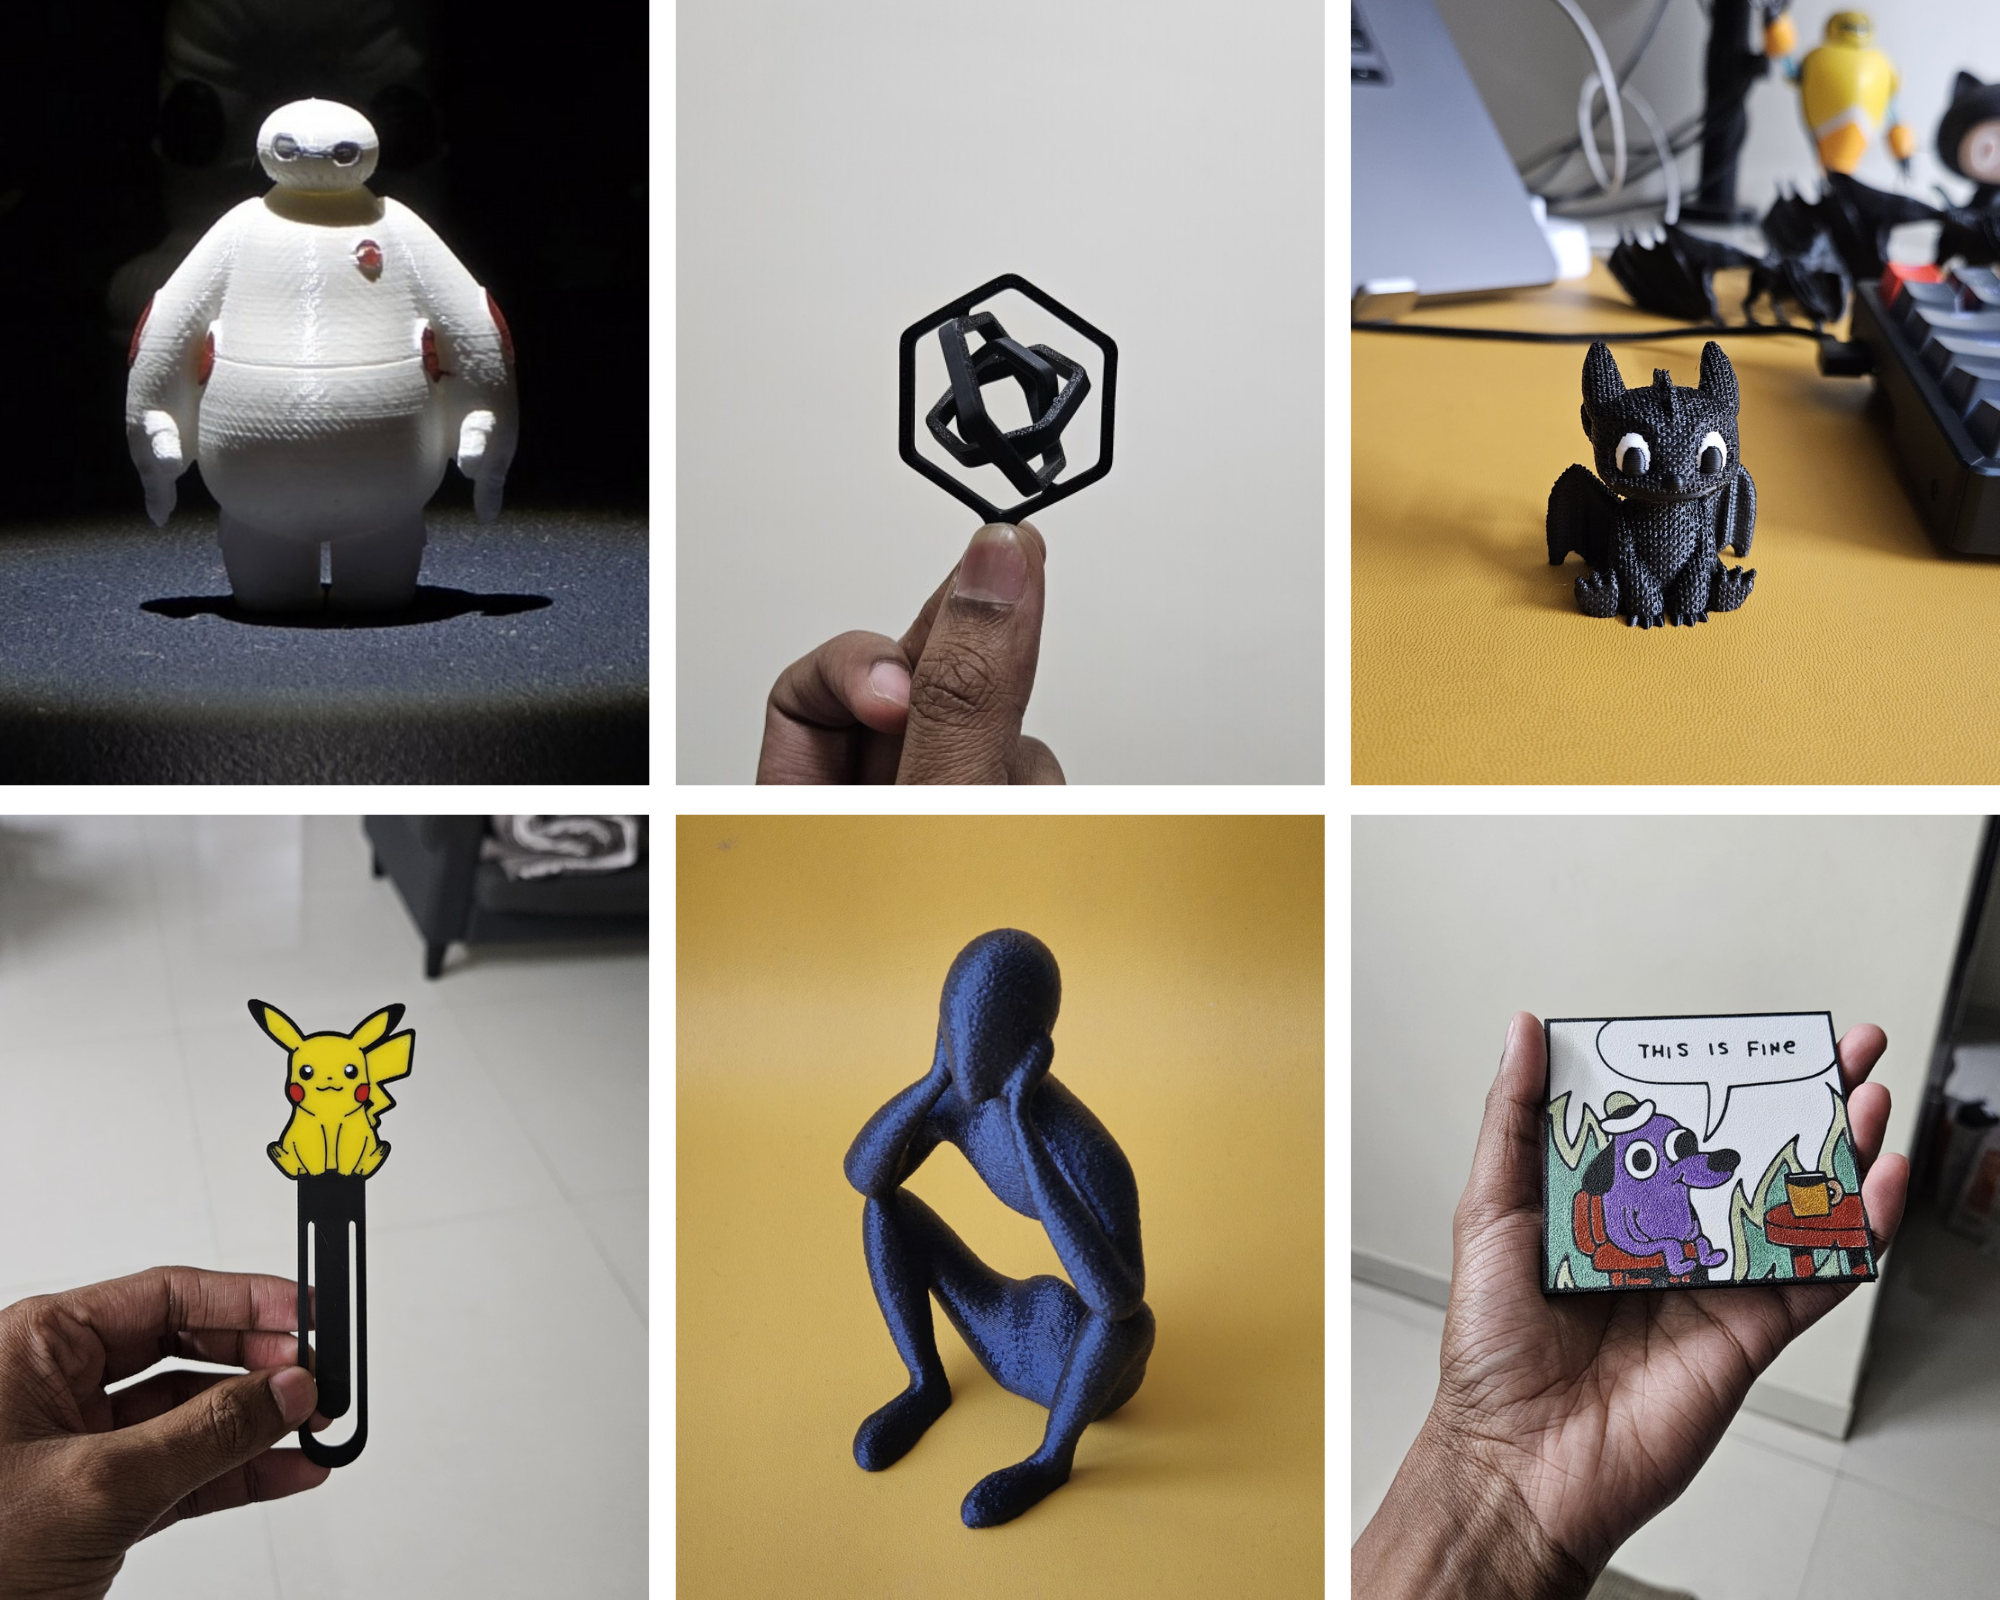
Models
- Baymax - https://makerworld.com/en/models/491221-baymax
- Keychain - https://makerworld.com/en/models/439225-mini-hexagon-toys-print-in-plac
- Toothless - https://makerworld.com/en/models/968505-toothless-night-fury-with-a-knitted-design
- Pikachu bookmark - https://makerworld.com/en/models/138000-bookmark-pikachu-pokemon
- Hollow man - https://makerworld.com/en/models/933272-nobody-introspection-a-journey-within
- Coaster - https://makerworld.com/en/models/608121-this-is-fine-coaster
- Drogon (GoT) - https://www.thingiverse.com/thing:3100640
- Winterfell (GoT) - https://makerworld.com/en/models/818903-winterfell-house-stark-games-of-thrones